The wiring and power-taking installation method of the dash cam include the following two types:
● Cigarette Lighter Power Supply
Insert the car charger into the cigarette lighter, and connect the car charger and the dash cam through the power cord. Most of the power cord will be embedded in the plastic guard plate of the car, and a small part will be exposed in the car. This wiring method is simple and easy to operate.
Step 1: Wipe the front windshield
Wipe the front windshield with a clean soft cloth to ensure that the bracket can stick firmly.
Step 2: Install the dash cam on the bracket
Remove the dash cam and bracket from the package, and install the bracket on the dash cam.
Step 3: Power on the dash cam
After inserting the car charger into the cigarette lighter, connect the dash cam to the car charger using the specified Type-C power cord.
After the car starts, the dash cam will automatically start when it is powered on, and the start-up prompt tone "Hello, DDPAI" will be issued, and the dash cam will start recording at this time.
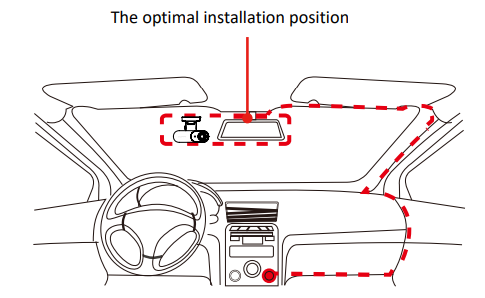
Step 4: Determine the installation position of the dash cam and adjust the lens angle
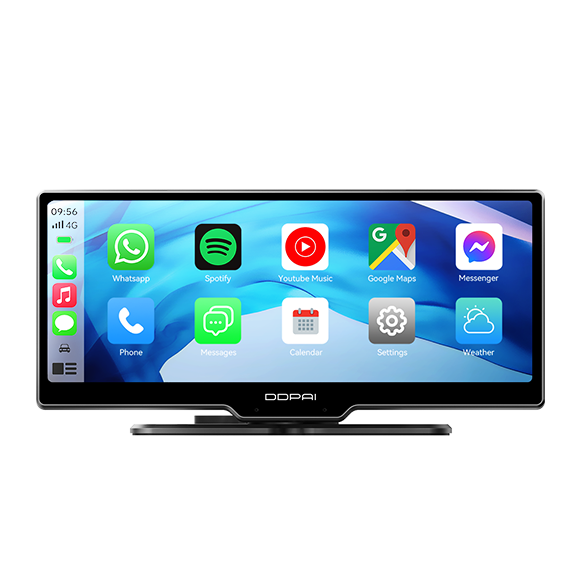
① After connecting the DDPAI App to the dash cam, enter the app, select "Device" > "Connect to Camera", and enter the "Now&back" interface, where the horizontal center line and vertical center line are displayed.
② Place the dash cam in the middle of the front windshield, so that the bottom of the bracket is attached to the front windshield, and the lens faces outward. According to the horizontal and vertical center lines in the picture, move the dash cam left and right to ensure that the center line of the front of the car is at the vertical center line, and then rotate the device to ensure that the disappearing line of the ground plane is at the center line of the picture.


Please refer to the horizon line and vertical center line to determine the position of the dash cam, otherwise it will affect the use of some functions of the dash cam.
Step 5: Stabilize the dash cam
① After determining the installation position of the dash cam, attach the electrostatic sticker to the installation position.
② Peel off the film of the 3M sticker on the bracket, and stick the bracket to the center of the electrostatic sticker.
Please pay attention to the direction and position when attaching the 3M sticker which is a disposable item. Please confirm that the recording angle of the dash cam is correct before attaching.
Step 6: Wiring
As shown in the following figure, please place the power cord from the cigarette lighter receptacle to the fixed position of the dash cam, and hide the power cord in the plastic guard plate of the car by using the included crowbar.
The cigarette lighter receptacle might be positioned differently in your car. The picture is provided for reference only.
● Connect the fuse box (step-down line is required)
This wiring method ensures neatness and beauty in the car and realize parking monitoring function at the same time. But the wiring operation is complicated. In order to avoid vehicle damage caused by misoperation, please complete the installation at a professional automobile service shop.
The step-down line needs to be purchased separately or by purchasing a package including the step-down line.