▶ Home Screen
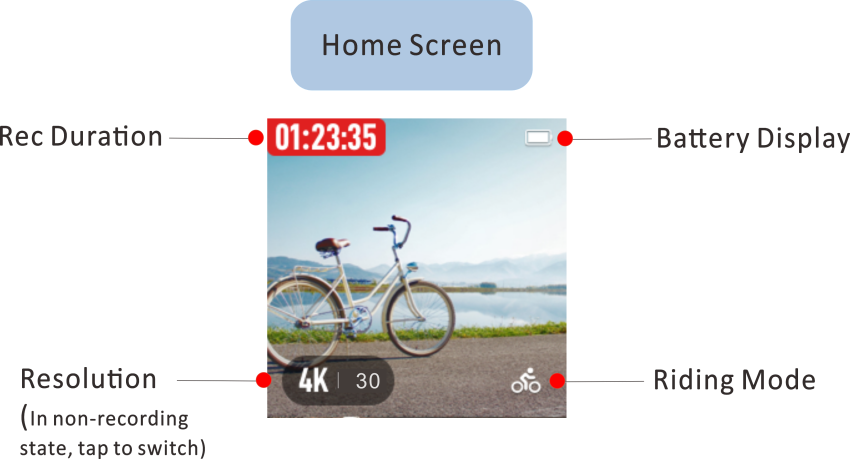
After completing the booting process, you will enter the home screen of the device. The home screen will display information such as battery, riding mode, resolution (In non-recording state, tap to switch), recording duration (after recording is turned on), GPS positioning status icon and other information.
On the home screen, swipe from top to bottom to enter the Settings, swipe from left to right to enter the Album, and swipe from right to left to enter the Data interface. See the figure below for details.

▶ Settings Interface
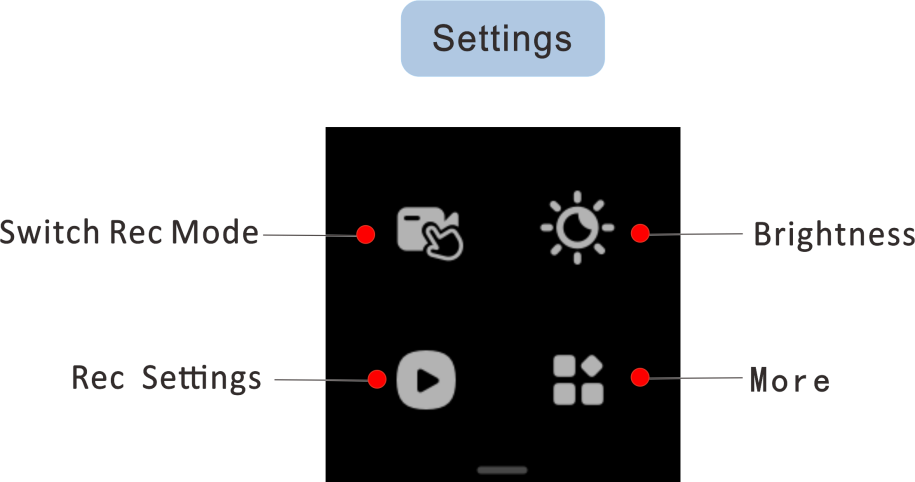
Switch Recording Mode
Tap to switch the recording mode to auto loop recording or manual recording. For details, please see Chapter 5 "Manual Recording" / "Auto Loop Recording".
Screen Setup
Tap  to adjust the brightness.
Rec Setup
Tap  to enter the “Rec Setup” interface, where you can set the resolution, recording mode, etc.
Rec Setup > Resolution

|
Frame (aspect ratio)
|
Resolution
|
Frame Rate
|
Resolution
|
|
Wide Screen (16:9)
|
4K (UHD)
|
30fps
|
3840 x 2160
|
|
Wide Screen (16:9)
|
4K (Night)
|
25fps
|
3840 x 2160
|
|
Wide Screen (16:9)
|
2K (Sport)
|
60fps
|
2560 x 1440
|
|
Wide Screen (16:9)
|
2K (Night)
|
50fps
|
2560 x 1440
|
|
Wide Screen (16:9)
|
1080P (Power Reserve)
|
30fps
|
1920 x 1080
|
|
Narrow Screen (4:3)
|
2K (Sport)
|
60fps
|
1920 x 1440
|
|
Narrow Screen (4:3)
|
2K (Standard)
|
30fps
|
1920 x 1440
|

When riding at night, it is recommended to set the resolution to night mode to achieve an anti-flicker effect.
Rec Setup > Rec Mode
The recording mode can be set to "Manual" or "Auto". In the manual recording mode, you can start/end recording manually. In the automatic recording mode, the video recording is started when the camera is turned on. After the recording files reach the storage limit, the oldest files will be automatically deleted.

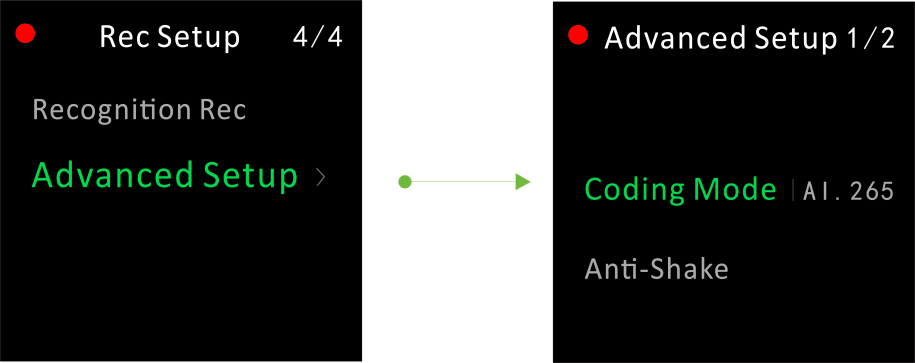
Rec Setup > Advanced Setup
Including the following detailed settings:
1. Coding mode: AI.265/H.264 (default: AI.265)
2. Anti-shake: On/Off (default: on)
More
Tap  to go to the “More” setup interface, which includes riding mode settings, storage management, language selection, factory reset, app connection, device version viewing, etc.
More > Riding Mode
Tap to select "Motorcycle" or "Bicycle" riding mode.

More > Auto screen off
You can select “Auto screen off” or ”Screen always on”.

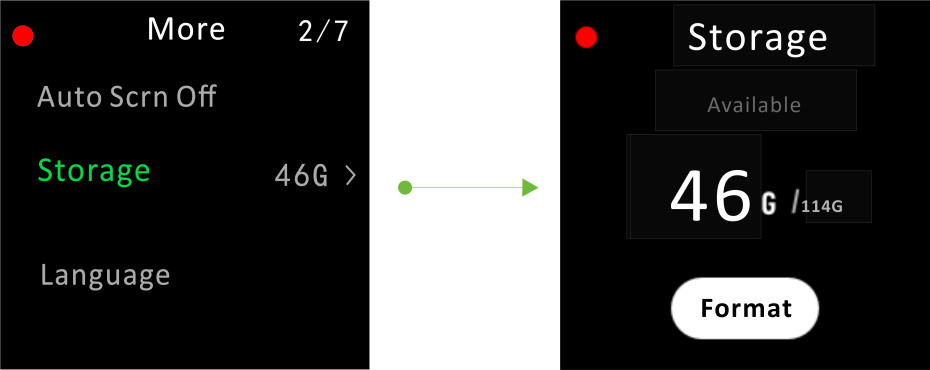
More > Storage
You can view the current storage space and format the storage space.
More > Language
Tap to select "Simplified Chinese" or "English".

More > Reset
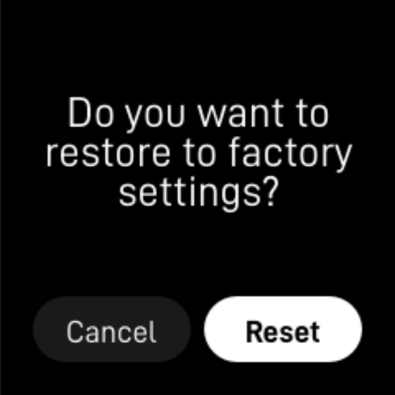
Tap "Reset" and you will be prompted "Do you want to restore to factory settings?". Then tap “Reset” will restore all setting items and restart the device.

Restoring factory settings will not delete the recorded videos and photos.
More > App Connection
Scan the QR code to download DDPAI App.

More > About
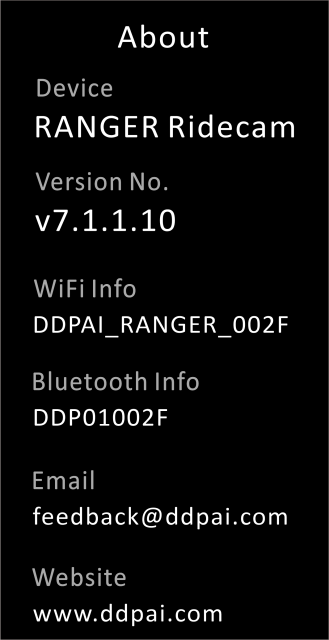
You can view the device name, version number (firmware version), Wi-Fi, Bluetooth information, etc.
▶ Album
Enter the album interface, you can view videos, short videos and photos, and you can view or delete these files.
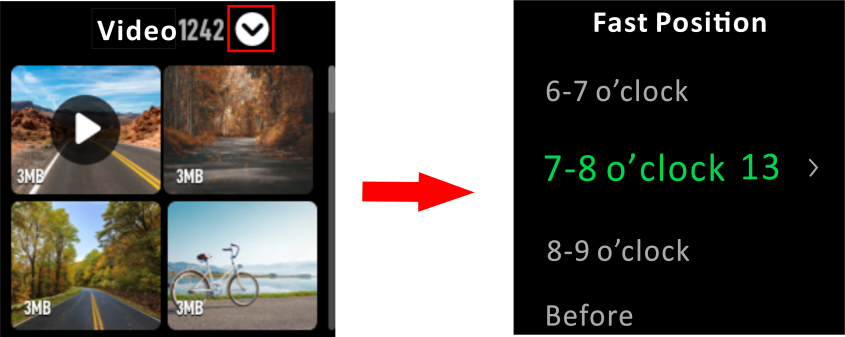
Fast position: Tap  to quickly find the files you want based on time points.
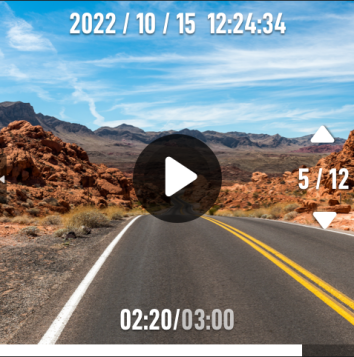
Play/pause the video: When you enter the single video file playback interface, tap the screen to play/pause the video.
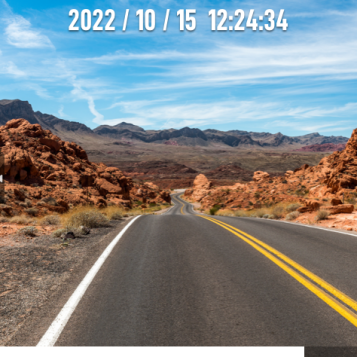
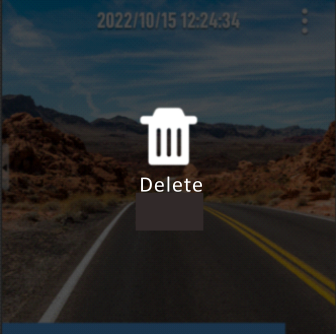
Delete the file: Press and hold the screen to delete the single file.
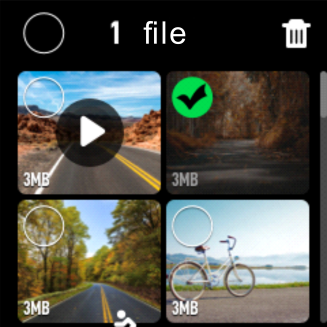
Delete the file on the list: Press and hold a single video file to enter the selection state, or tap  (select all) at the top of the screen, and select the video/photo you want to delete, then tap
  .
.
▶ Data Interface
When you start the riding mode, you can swipe up on the home screen or press the right button of the device to switch the data interface, including speed, distance, duration, compass, slope, air pressure, temperature, altitude, acceleration, etc.
Start the riding mode: Press and hold the right button to directly enter the riding countdown interface (or press the right button to enter the data interface, and then tap  ).
).




 to adjust the brightness.
 to enter the “Rec Setup” interface, where you can set the resolution, recording mode, etc.


 to go to the “More” setup interface, which includes riding mode settings, storage management, language selection, factory reset, app connection, device version viewing, etc.


 to quickly find the files you want based on time points.


 (select all) at the top of the screen, and select the video/photo you want to delete, then tap
  .
.
 ).
).
